How to Make AI Photos Look More Realistic
In this guide
AI image generation has transformed the way we create visual content. From professional portraits and product campaigns to social media graphics and creative concepts, artificial intelligence can produce impressive images within seconds. Yet there is one challenge that separates a convincing image from an obviously computer-generated one: AI Photos Look More Realistic when small visual details, natural imperfections and believable lighting are handled correctly.
A polished image is not always a realistic image. Sometimes, overly smooth skin, strange hands, artificial shadows, perfect symmetry or unnatural backgrounds can instantly reveal that an image was generated by AI. The good news is that realism does not necessarily require advanced technical skills. With the right prompts, thoughtful editing and attention to detail, you can create images that feel authentic and visually believable.
Start With a Detailed and Natural Prompt
The quality of an AI-generated image often depends on the instructions you provide. A short prompt such as “professional woman portrait” gives an image generator plenty of room to invent details. The result may look attractive, but it might lack the subtle characteristics found in a genuine photograph.
Instead, describe the scene as if you were giving instructions to a professional photographer.
Mention:
- The subject's age range and appearance
- Clothing and material textures
- Location and surroundings
- Time of day
- Lighting direction
- Camera perspective
- Facial expression
- Background depth
- Mood and photographic style
For example, instead of asking for “a man in a city,” describe a casually dressed man standing on a busy downtown street during an overcast afternoon, with soft natural light, realistic skin texture, subtle background blur and candid body language.
Specificity gives the AI more context and helps it produce a scene with photographic consistency.
Use Natural Lighting Instead of Perfect Lighting
Lighting is one of the biggest factors affecting photographic realism. Real-world photographs rarely have perfectly balanced illumination across every part of a subject. Natural environments create highlights, shadows, reflections and variations in brightness.
When generating an image, specify the type of lighting you want. Soft window light, late-afternoon sunlight, cloudy daylight, fluorescent indoor lighting, or warm evening illumination can all create different moods.
Pay Attention to Shadows
Shadows should match the position and intensity of the light source. If the face is brightly illuminated from the left, the right side should generally contain some degree of shadow. Objects in the background should also respond to the same light source.
Unnatural shadows are among the easiest ways for viewers to recognize generated imagery.
Avoid Excessive Glow
AI-generated images sometimes include a dreamy glow that makes everything appear unusually polished. While this can look artistic, it can reduce authenticity. Ask for subtle highlights and realistic exposure rather than cinematic perfection when your goal is a genuine photographic appearance.
Add Realistic Skin Texture
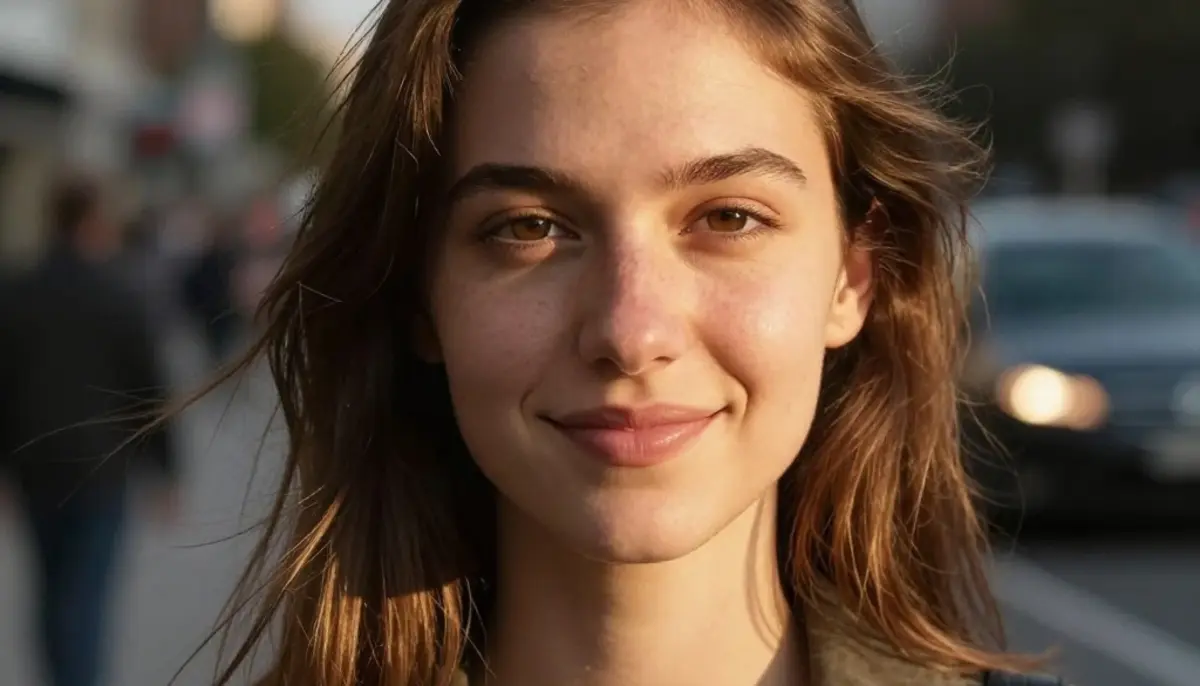
One of the most common problems with generated portraits is excessively smooth skin. Human skin naturally contains pores, fine lines, tiny imperfections, facial hair, wrinkles and variations in tone.
Making the skin completely flawless can actually make a portrait look less believable.
When creating portraits, request natural skin texture rather than “perfect skin.” You can also describe subtle details such as visible pores, fine facial hair, realistic complexion variations, and natural under-eye texture.
This does not mean making every subject look older or less polished. The goal is simply to preserve the tiny imperfections that make real people look human.
Make Hands and Fingers a Priority
Hands have historically been a difficult area for image generators. Although modern AI systems have improved significantly, unusual fingers, incorrect proportions, fused hands and awkward poses can still occur.
Before using an image, inspect the hands closely. Check:
- The number of fingers
- Finger length and proportion
- Thumb placement
- Wrist position
- Interaction with nearby objects
- Whether both hands follow the same anatomical logic
If the hands look unnatural, regenerate the image or use an editing tool to correct the problem. A beautiful composition can lose credibility because of one distorted hand.
Create Authentic Facial Expressions
People rarely maintain perfectly symmetrical expressions. A genuine smile may lift one side of the mouth slightly more than the other. Eyes can have tiny differences, and facial muscles naturally create subtle variations.
Ask for relaxed expressions rather than exaggerated perfection.
For portraits, words such as “candid,” “relaxed,” “natural expression” and “unposed moment” can help guide the generation toward a more photographic appearance.
The eyes deserve particular attention. Look for realistic reflections, natural pupils, consistent direction of gaze, and believable eyelid shapes. Artificial-looking eyes can make an otherwise convincing portrait feel immediately wrong.
Introduce Small Imperfections
Ironically, imperfections can make generated images feel more authentic.
Real photographs contain small irregularities: slightly messy hair, creased clothing, uneven surfaces, tiny background distractions, natural facial asymmetry and subtle variations in color. Removing all of these details can create an image that looks too perfect to be real.
Try incorporating realistic imperfections into your prompts.
For example, request naturally textured fabric, slightly tousled hair, minor environmental clutter, authentic skin detail or subtle lens characteristics. These elements can add visual credibility without making the image look unattractive.
Choose Realistic Camera Characteristics
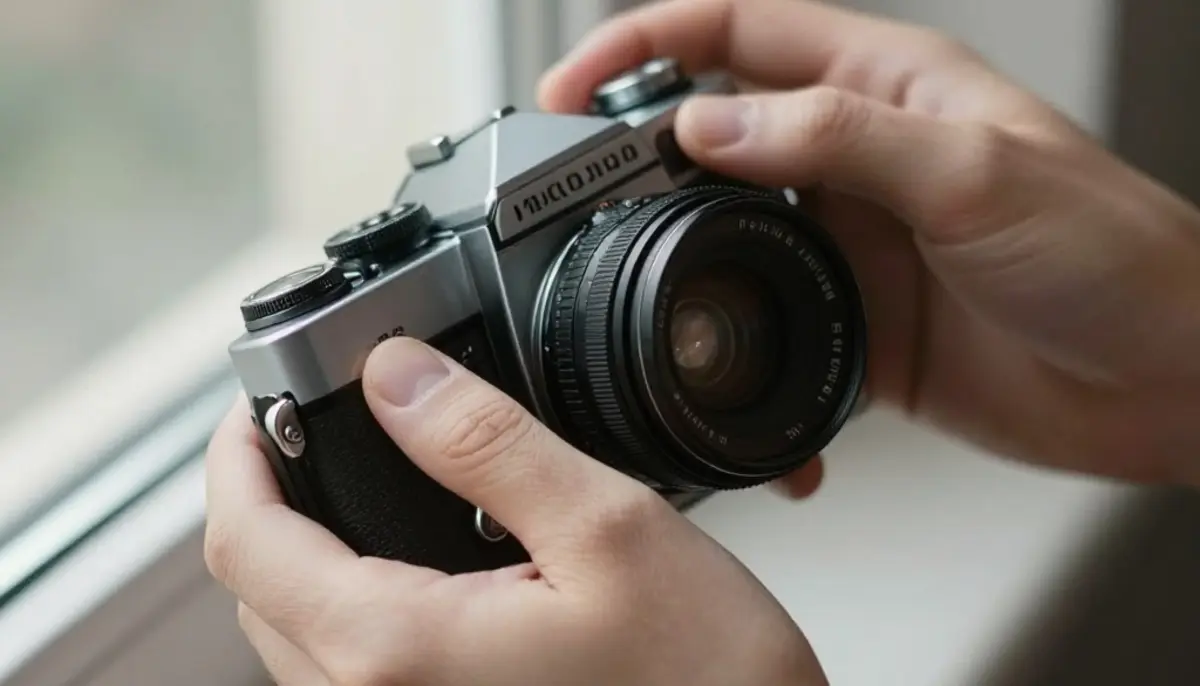
A photograph is influenced by the camera and lens used to capture it. Adding believable photographic characteristics can help an AI-generated scene feel more grounded.
Consider mentioning:
- 35mm or 50mm lens perspective
- Shallow or moderate depth of field
- Natural motion blur
- Realistic exposure
- Subtle lens distortion
- Fine photographic grain
- Accurate focus falloff
However, avoid adding every camera effect at once. Too much blur, grain or artificial bokeh can make the result appear heavily processed.
The objective is not to imitate every characteristic of a camera. It is to create visual cues that audiences associate with genuine photography.
Keep Backgrounds Consistent
A realistic foreground cannot compensate for an unrealistic background.
Look closely at buildings, furniture, signs, plants, roads, windows and other environmental elements. AI may create objects that appear plausible at first glance but become strange when inspected closely.
Check Perspective and Scale
Objects should have consistent proportions relative to the camera and subject. A chair that is too large, a doorway that is too narrow or a distant person with an incorrect size can make an image feel artificial.
Perspective lines should also make sense. Tables, walls, roads and architectural structures generally follow predictable visual geometry.
Avoid Unnecessary Background Complexity
If the background is not important to the image, keep it simple. A clean, realistic environment can often look more convincing than a highly detailed scene filled with questionable objects.
Use AI Editing Instead of Regenerating Everything
You do not always need to start from scratch when something looks wrong. Modern AI editing workflows allow creators to modify individual areas while keeping the rest of the composition intact.
For example, if the face looks excellent but the hand is distorted, focus the correction on the hand. If the clothing texture appears strange, edit that area rather than generating an entirely new image.
This approach can save time and preserve elements that already look realistic.
Tools such as magical studio ai can also be incorporated into a broader creative workflow where generation, refinement and visual polishing are treated as separate stages.
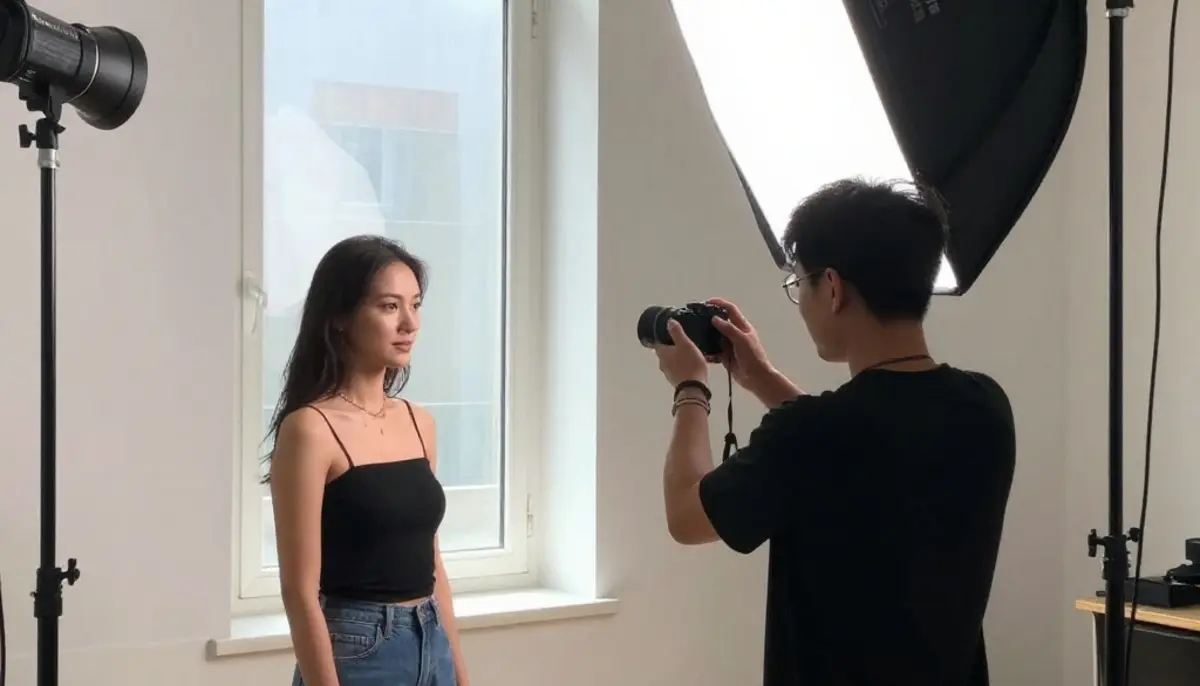
Be Careful With Color Grading
Color has a powerful influence on perceived realism. Extremely saturated colors, excessive contrast or unusual skin tones can make an image look synthetic.
Aim for a balanced color palette. Skin should retain believable undertones, whites should not always be perfectly neutral and shadows should contain subtle color variations.
Natural photographs can also have slightly different color characteristics depending on the environment. A warm indoor scene and a cloudy outdoor portrait should not necessarily have the same color treatment.
Compare the Image at Different Sizes
An image may look realistic when viewed as a small thumbnail but reveal problems when enlarged. Conversely, certain imperfections may disappear at normal viewing size.
Review the image at several scales.
At full size, inspect details such as fingers, teeth, eyes, jewelry, hair and fabric. At normal size, evaluate whether the entire scene feels believable. At thumbnail size, consider whether the composition and lighting immediately communicate the intended subject.
This simple review process can catch issues before you publish the image.
Think Like a Photographer, Not Just a Prompt Writer
The most effective way to improve generated images is to develop photographic judgment.
Ask yourself:
- Where is the light coming from?
- Does the subject's pose feel comfortable?
- Would a real camera capture this scene this way?
- Do the materials behave naturally?
- Are the reflections and shadows consistent?
- Does anything look unnaturally perfect?
These questions shift your approach from simply generating pictures to deliberately constructing believable visual scenes.
Create Realism Through Multiple Small Improvements
There is rarely one magical setting that instantly solves every artificial-looking detail. Realism is usually the result of several small improvements working together.
Start with a detailed prompt. Establish believable lighting. Add natural skin texture. Check anatomy. Refine facial expressions. Review the background. Correct unusual objects. Adjust color. Finally, inspect the image carefully before publishing.
Creators who follow this process often achieve better results than those who simply regenerate an image repeatedly.
The Final Touch Matters
After generating and editing your image, step away for a few minutes and return with fresh eyes. Look at it as someone who has never seen the creation process.
Sometimes the biggest problem is not an obvious technical mistake but a general feeling that something is “off.” Trust that instinct and investigate the image carefully.
You can also use magical studio ai as part of a creative workflow for experimenting with visual concepts and refining your final presentation.
Conclusion
Creating believable AI imagery is less about making everything flawless and more about making everything coherent. Real photographs contain texture, variation, imperfect symmetry, environmental complexity and lighting that follows physical logic.
If you want AI Photos to look more realistic, focus on the details people naturally recognize without consciously analyzing them: believable skin, expressive eyes, accurate hands, realistic shadows, authentic materials, consistent perspective and natural color.
The strongest AI images do not simply look beautiful. They look as though a real moment existed before the viewer arrived. By combining thoughtful prompting, careful observation, targeted editing, and subtle imperfections, you can move beyond generic AI aesthetics and create visuals that feel convincing, human and photographically authentic.
Try unlimited AI photo editing
Run every AI tool as much as you want, right in your browser.