How to Upscale Images for Printing Without Pixelation
In this guide
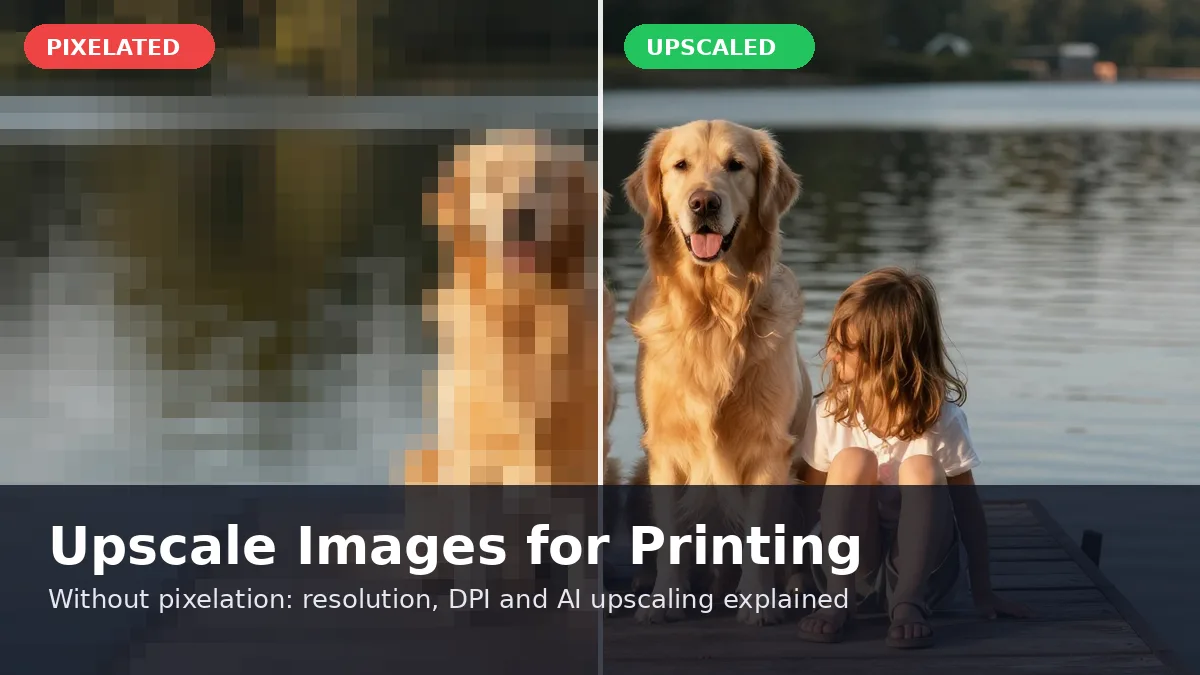
Printing a favorite photo can be exciting, but the result can be disappointing when the printed image looks blurry, pixelated or less detailed than it appeared on your screen. This usually happens when a small or low-resolution image is enlarged beyond what its original pixels can support.
The good news is that you don't always need a professional designer or expensive software to improve an image before printing. Modern image enhancement and AI-powered tools can increase image resolution, recover visual details and prepare photos for larger prints.
In this guide, you'll learn how to upscale images for printing correctly, understand resolution and DPI, choose the right image size and avoid common mistakes that lead to poor-quality prints.
Why Image Resolution Matters for Printing
Resolution refers to the amount of visual detail an image can display. A photo with more pixels generally provides more detail and gives you greater flexibility when creating larger prints.
For example, imagine you have a 1000 x 1000 pixel image. If you print it as a small 4 x 4-inch photo, it may look reasonably sharp. However, stretching that same image across a large poster can make individual pixels much more noticeable.
This is why simply increasing the dimensions of an image isn't always enough.
Pixels vs. Physical Print Size
Digital images are measured in pixels, while physical prints are usually measured in inches or centimeters. The relationship between these measurements affects the final sharpness. For example:
- 1200 x 1200 pixels can work well for a small square print.
- 2400 x 3000 pixels provides more flexibility for larger prints.
- Very large posters require significantly more pixel information for close viewing.
Before printing, consider both the image's pixel dimensions and the physical size you want to print.
What Does DPI Mean?
DPI stands for dots per inch. It describes how densely a printer places dots on a physical page.
For many high-quality photo prints, 300 DPI is commonly used as a target. However, the ideal value depends on the type of print and how far away viewers will normally see it.
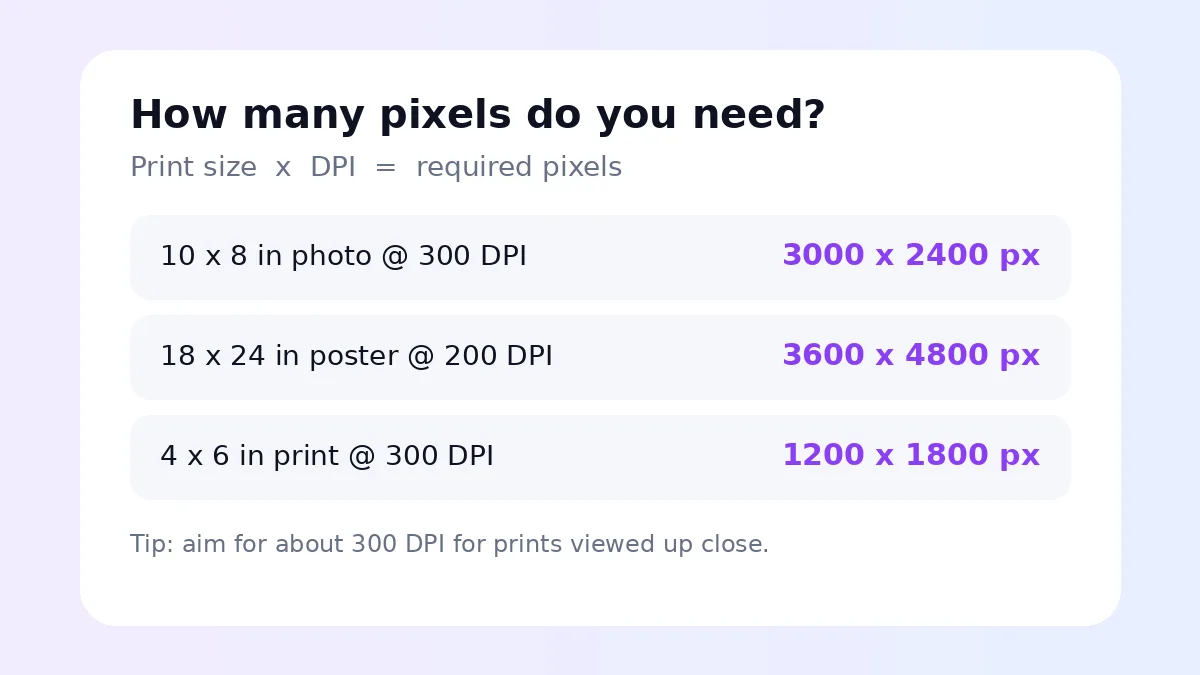
A simple calculation can help you determine the required pixel dimensions:
- Print width x DPI = required pixel width
- Print height x DPI = required pixel height
For example, if you want a 10 x 8-inch photo at 300 DPI, the width is 10 x 300 = 3000 pixels and the height is 8 x 300 = 2400 pixels. So an image around 3000 x 2400 pixels would be a suitable target.
How to Upscale Images for Printing
The goal of image upscaling isn't simply to make a file larger. A good upscaling process attempts to create additional pixels while maintaining edges, textures, colors and important details.
1. Start With the Highest-Quality Original
Start with the highest-quality version of your image available. Avoid downloading a compressed image from social media and then trying to enlarge it dramatically. Platforms often reduce image quality, remove details and apply compression. If possible, use:
- The original camera photo
- A high-resolution PNG
- A RAW image converted appropriately
- An original design file
- A high-quality JPEG with minimal compression
The better your starting image, the better your final print is likely to be.
2. Choose the Correct Upscaling Amount
Don't automatically enlarge every image by 4x or 8x. If you only need a slightly larger print, a smaller enlargement may preserve the natural appearance better. Extreme enlargement can introduce artificial-looking textures, smooth skin excessively or create strange edges.
A practical approach is to calculate your required print dimensions first and then upscale only as much as necessary.
3. Use AI Image Upscaling
Traditional resizing methods estimate new pixels based on surrounding pixels. AI image upscaling can take a more advanced approach by analyzing patterns and attempting to reconstruct missing visual details. AI-based enhancement can be particularly useful for:
- Old photographs
- Portraits
- Product images
- Artwork and digital illustrations
- Small screenshots
- Images intended for posters
Tools such as Magical Studio AI can make the enlargement process easier for users who don't want to work with complicated editing software.
4. Check Faces and Fine Details
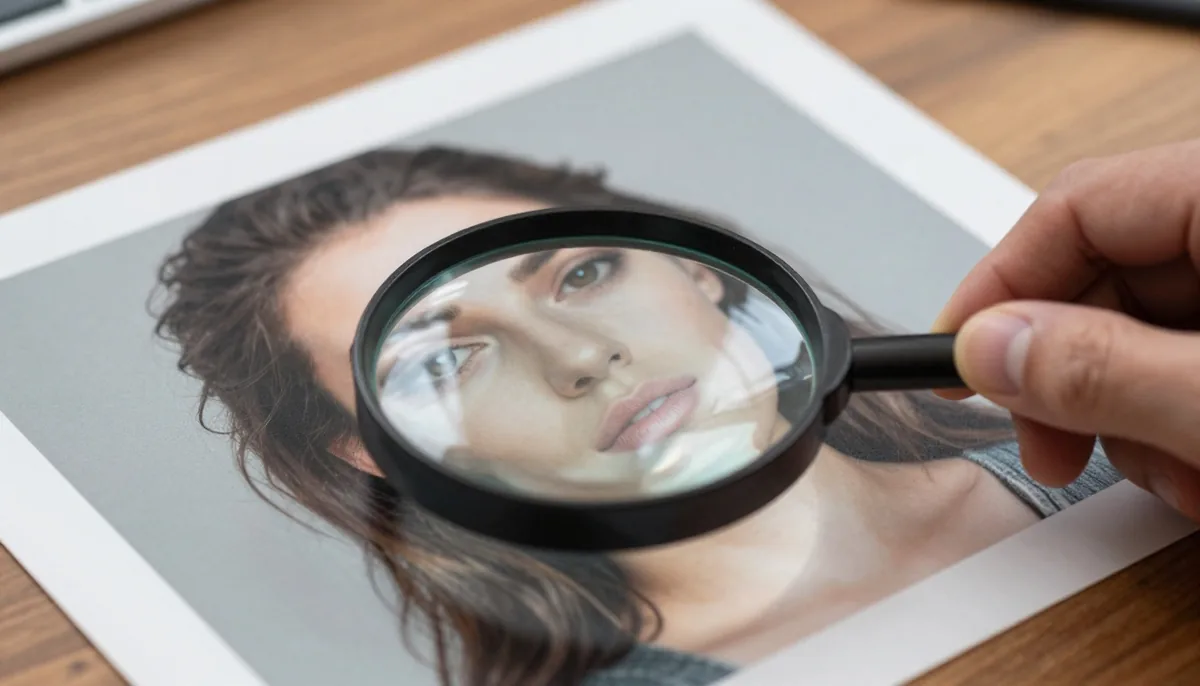
After enlargement, don't immediately send the image to a printer. Zoom in and inspect important areas. Pay special attention to:
- Eyes and facial features
- Hair
- Text
- Jewelry and clothing patterns
- Product edges and small objects
- Background textures
AI enhancement can sometimes create details that weren't actually present in the original image. Checking the result at 100% or higher zoom can help you identify these problems before printing.
How to Prevent Pixelation
Even the best upscaling technique cannot completely recover information that was never captured. Therefore, prevention is just as important as enhancement.
Use the Right Source Image
If you're photographing something specifically for printing, capture it at the highest practical resolution available. For camera photos, use the original full-resolution file rather than a compressed copy.
Avoid Repeated Resizing
Repeatedly enlarging and saving JPEG files can gradually reduce image quality. Instead, keep an original master file and perform your final resizing from that source.
Don't Overcompress the Final Image
Strong compression can remove subtle details and introduce artifacts. For professional printing, use a high-quality JPEG, TIFF, PNG or another format recommended by your printing service.
Maintain the Correct Aspect Ratio
If your image has a 4:3 ratio but you try to print it on a 16:9 surface, you may need to crop the image. Don't stretch the image to force it into a different shape. Stretching can make people, objects and facial features appear distorted.
Choosing the Right Print Resolution
There isn't one resolution that works perfectly for every printing situation.
300 DPI for Detailed Prints
Around 300 DPI is a popular target for photographs, brochures, invitations and other prints viewed relatively closely. It provides a strong balance between detail and file size.
Lower DPI for Large Displays
Large banners, billboards, wall graphics and signs may use lower effective resolution because people normally view them from a greater distance. A huge wall graphic doesn't necessarily need the same pixel density as a small photograph held in someone's hands.
Consider Viewing Distance
Think about where your print will be displayed. A photo sitting on a desk needs more detail than a large banner viewed from several meters away. This means the ideal resolution should be based on both print size and viewing distance.
Common Mistakes When Enlarging Images
Many poor-quality prints aren't caused by the printer itself. The problem often begins with the image preparation process.
- Enlarging too much: turning a tiny 500-pixel image into a massive poster can produce unrealistic details, blurry edges and visible artifacts.
- Using screenshots instead of original files: screenshots may have significantly fewer pixels than the original image. Always look for the original whenever possible.
- Ignoring the print preview: a digital image can look excellent on a bright monitor but different when printed. If your printing service provides a preview, examine it before ordering a large batch.
- Sharpening too aggressively: sharpening can make an image appear clearer, but excessive sharpening creates halos around edges and unnatural textures. Apply it carefully and inspect the result at actual print size.
A Simple Workflow for Better Prints
You can follow this workflow whenever you prepare an image for printing.
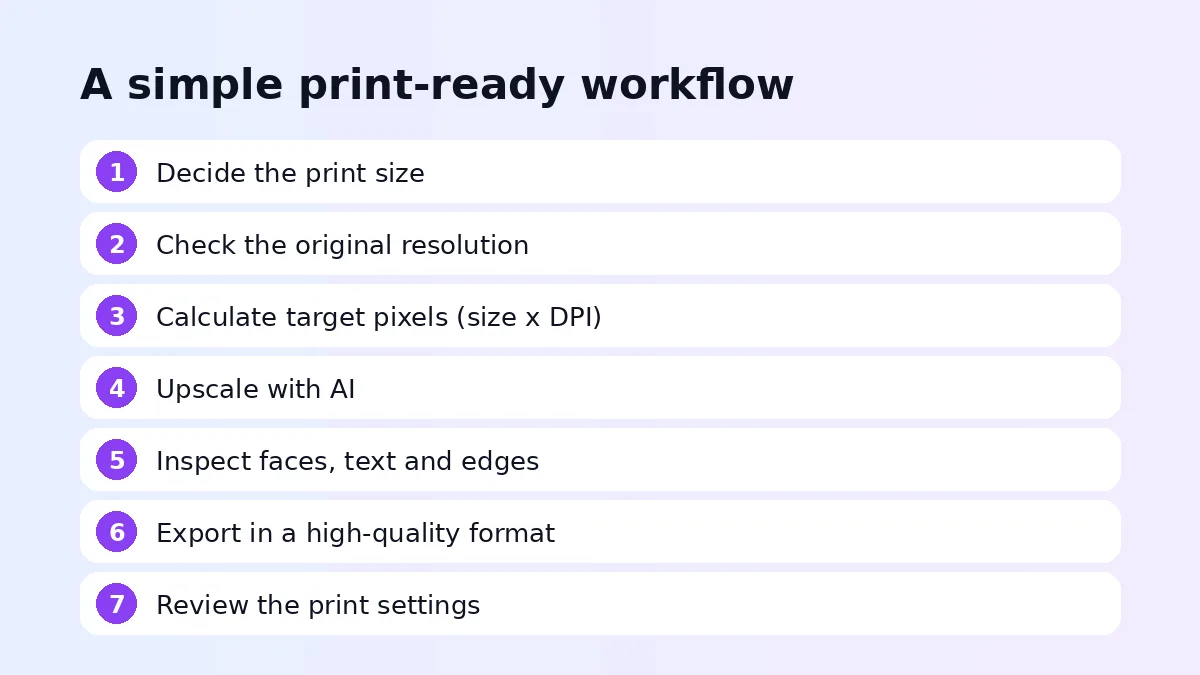
- Step 1: Determine the print size. Decide whether you're creating a photo, poster, flyer, canvas, card or another type of print.
- Step 2: Check the original resolution. Look at the image's pixel dimensions before making any changes.
- Step 3: Calculate the target resolution. Multiply the desired physical dimensions by the target DPI.
- Step 4: Upscale the image. Use an appropriate image editor or AI enhancement tool to reach the required pixel dimensions.
- Step 5: Inspect the result. Check faces, text, edges, textures and other important areas for artifacts.
- Step 6: Export carefully. Save the final image in a high-quality format recommended by your printing provider.
- Step 7: Review the print settings. Before printing, verify paper type, color settings, orientation, scaling and printer quality.
When Should You Use AI Upscaling?
AI upscaling is especially helpful when the original image is good but simply doesn't have enough pixels for the intended print size. It can be useful for turning an older family photograph into a larger print, preparing artwork for a poster, improving product images for marketing materials or making digital photographs suitable for physical displays.
However, AI isn't magic. If an image is extremely blurry, heavily compressed or severely damaged, the software may not be able to recreate every missing detail accurately.
Final Tips for High-Quality Printing
Before sending your image to the printer, remember these key points:
- Start with the highest-resolution original available.
- Calculate your required pixel dimensions before resizing.
- Use AI upscaling when additional detail is needed.
- Aim for around 300 DPI for many close-viewed photo prints.
- Avoid unnecessary repeated resizing and keep the original file as a backup.
- Check faces, text and fine details after enhancement.
- Don't stretch images to fit different aspect ratios.
- Use high-quality export settings and always consider the final viewing distance.
Conclusion
Learning to upscale images for printing can significantly improve the quality of your photographs, artwork and marketing materials. The most important thing is to understand that successful printing depends on more than simply increasing an image's dimensions.
Start with a high-quality source, determine the required print size, calculate the appropriate resolution and use AI enhancement when additional pixels are necessary. Most importantly, inspect the final result before printing.
With the right preparation, even an image that looks too small for your desired print can often be transformed into a sharper, cleaner and more professional-looking result.
Try unlimited AI photo editing
Run every AI tool as much as you want, right in your browser.