How to Use AI Inpainting for Smarter Photo Editing
In this guide
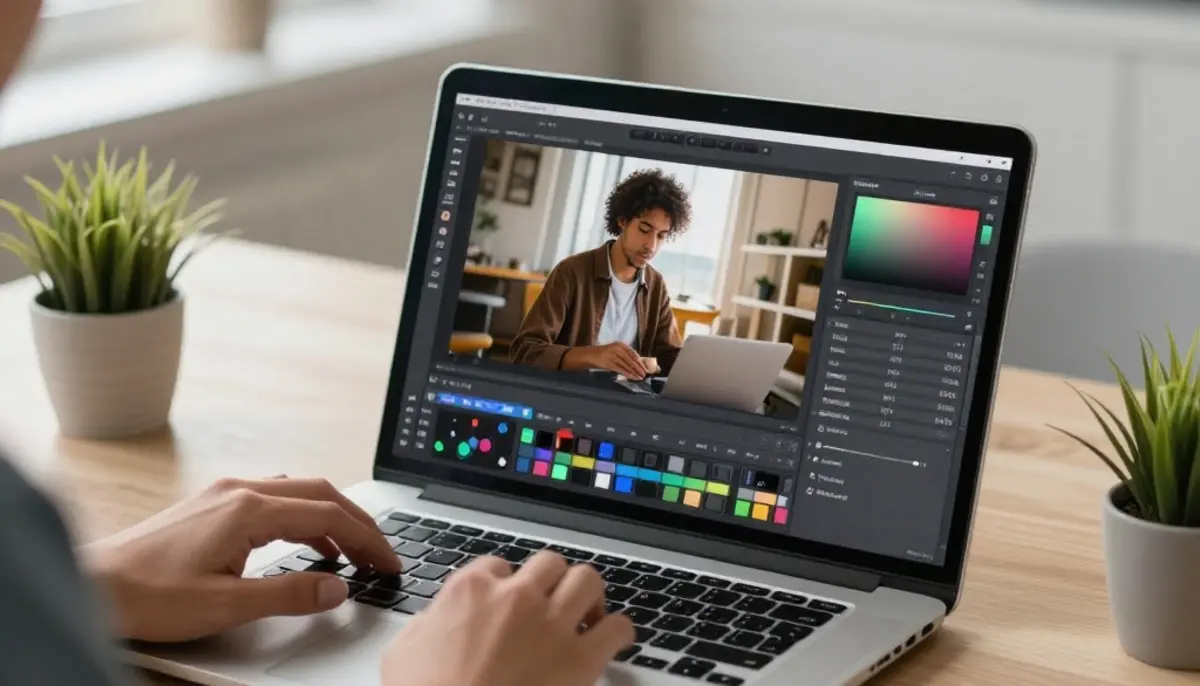
Photo editing has changed a lot in recent years. Earlier, removing an unwanted object, fixing a damaged image or replacing a background detail required advanced editing skills and a lot of manual work. Today, smart editing tools make the process faster, cleaner, and more beginner-friendly. That is where AI Inpainting becomes useful. It lets you edit one part of an image while keeping the rest looking natural.
Whether you are a content creator, designer, marketer, photographer or casual user, this technology can save time and improve image quality. Instead of spending hours trying to clone pixels or manually blend edges, you can select the area you want to change and let the tool rebuild it intelligently.
What Is AI Inpainting?
AI Inpainting is a photo editing technique that fills, repairs, removes or replaces selected parts of an image using artificial intelligence. It studies the surrounding pixels, colors, lighting, shadows, and textures to create a realistic result.
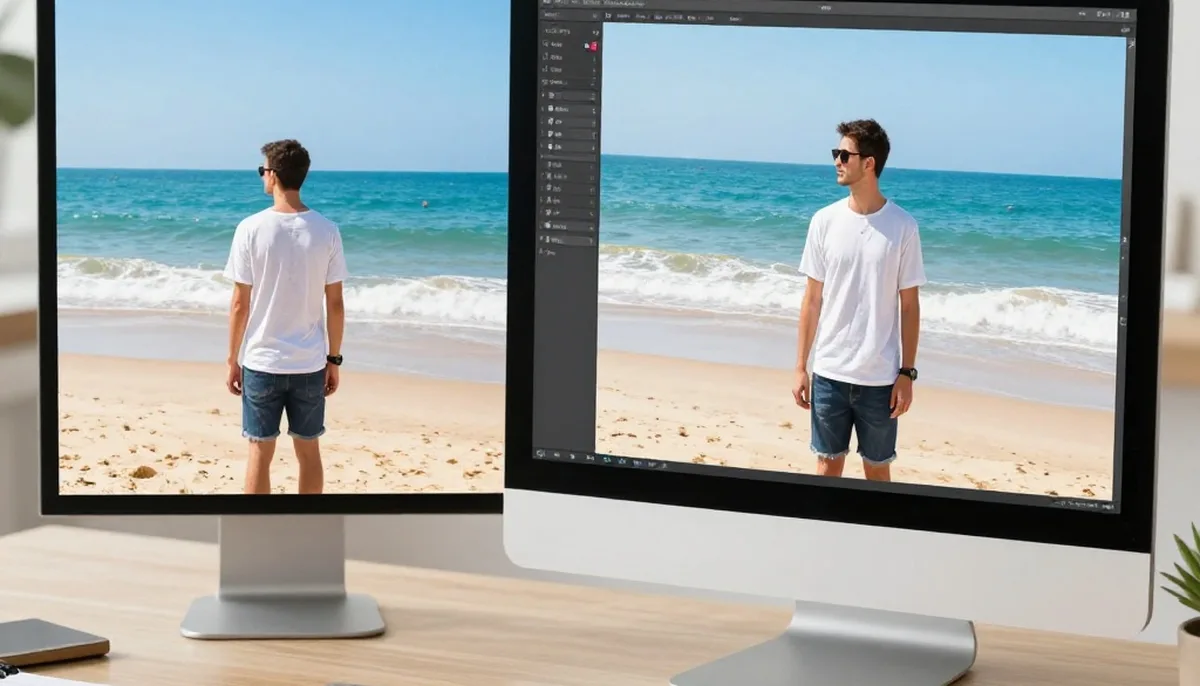
For example, imagine you took a perfect travel photo, but a random person is standing in the background. Instead of cropping the image or leaving the distraction there, you can mark that person and remove them. The tool will rebuild the missing background so the photo looks clean and natural.
This is useful for removing objects, fixing old photos, cleaning product images, restoring damaged areas and improving creative visuals.
Why This Editing Method Is Smarter
Traditional photo editing needs patience and technical knowledge. You may need to use clone tools, healing brushes, masks, layers and blending options. These are powerful, but they can feel difficult for beginners.
AI-powered editing makes the process easier because it understands the image context. It does not simply blur or cover the selected area. It predicts what should appear in that space based on the photo’s environment.
Saves Time
Manual editing can take several minutes or even hours, depending on the complexity of the image. Smart inpainting tools can complete many edits in seconds. This is especially helpful when you need to edit multiple photos for blogs, ads, social media or online stores.
Keeps Images Natural
A good edit should not look edited. The best result is when viewers cannot tell anything was changed. Smart tools match lighting, texture and background details to make the final image look realistic.
Beginner-Friendly
You do not need professional design experience. In most tools, you simply upload the image, brush over the area you want to change and generate the result.
Best Uses of Smart Inpainting Tools
This editing method can be used in many practical situations. It is not only for professional designers. Anyone who works with images can benefit from it.
Remove Unwanted Objects
One of the most popular uses is object removal. You can remove people, wires, dustbins, vehicles, signs, watermarks from your own images or any distracting item that reduces the beauty of a photo.
For example, if you capture a beach photo and there is a plastic bottle in the sand, you can remove it and make the image look cleaner.
Fix Old or Damaged Photos
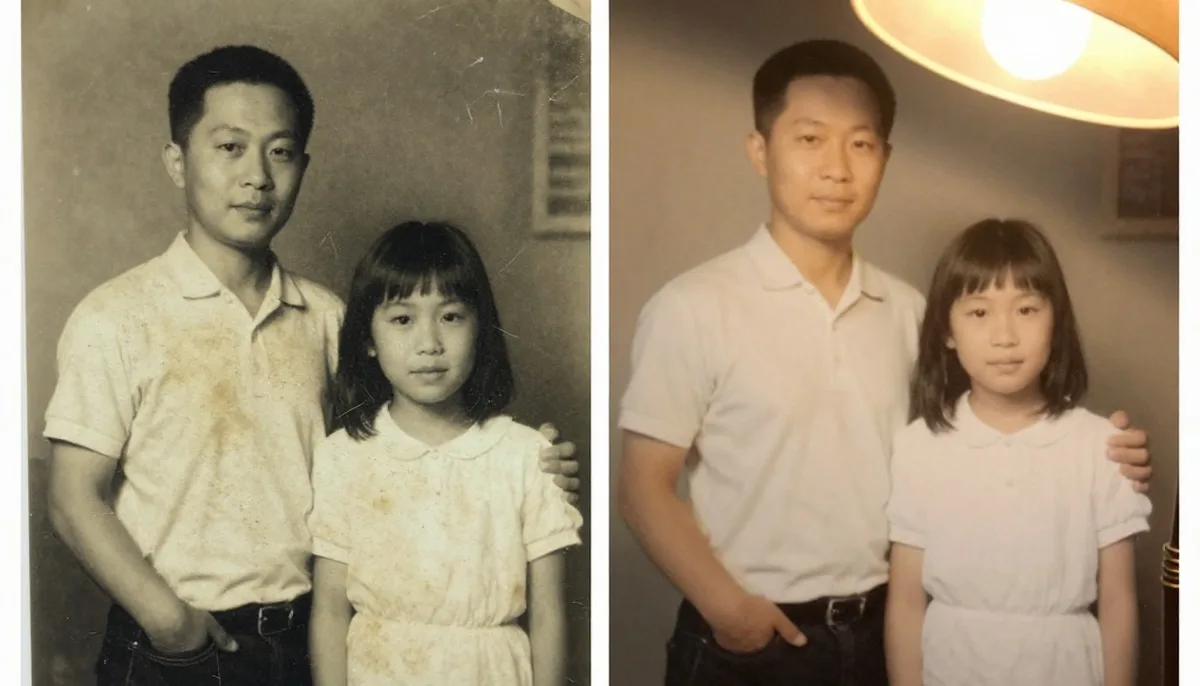
Old family photos often have scratches, spots, stains or torn areas. Inpainting can repair these damaged parts and bring the photo closer to its original look. It is useful for restoring memories without needing advanced restoration skills.
Improve Product Images
Clean product photos are important for eCommerce. If your product image has background distractions, unwanted shadows, marks or small defects, smart editing can help make it look more professional.
A cleaner image can improve trust, increase clicks and make the product appear more attractive.
Edit Social Media Content
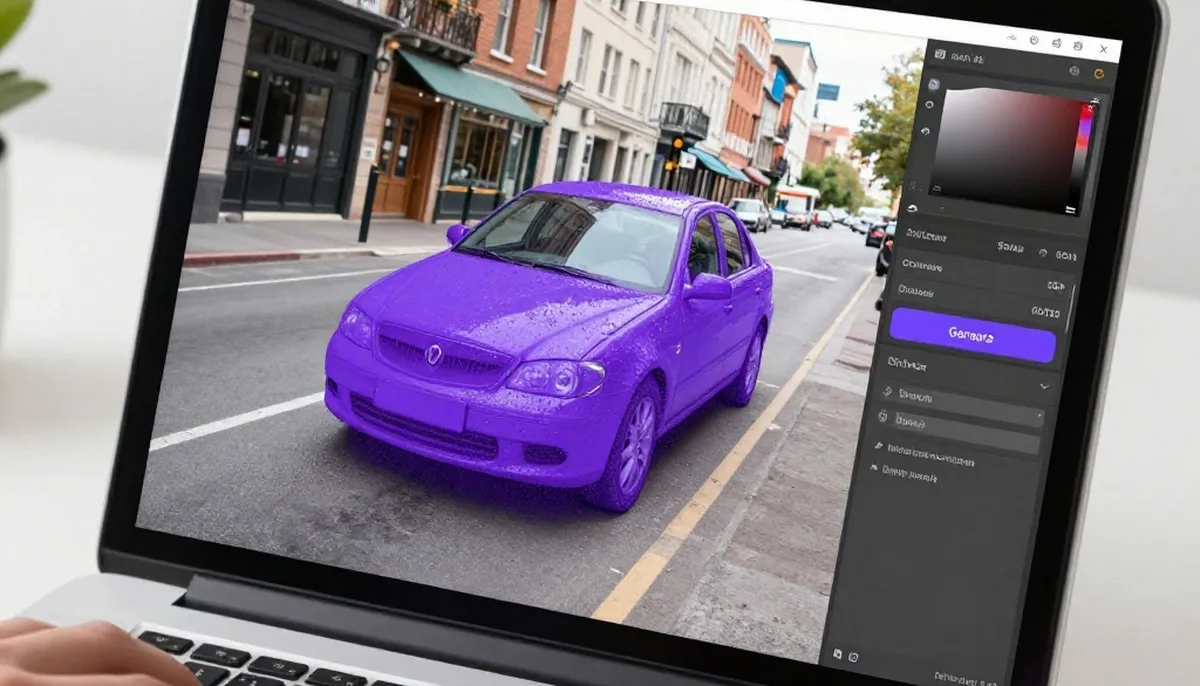
Creators often need fast edits. Maybe you want to remove background clutter, fix a small mistake or create a more polished post. Tools like magical studio ai can help users create cleaner visuals without spending too much time on manual editing.
Replace Specific Image Areas
Inpainting is not only for removing things. You can also replace selected areas creatively. For example, you can change a small part of a background, repair a missing design element or adjust an object in the image.
How to Use It Step by Step
Using smart inpainting tools is usually simple. The exact process may change depending on the platform, but the basic steps are mostly the same.
Step 1: Upload Your Image
Choose a clear, high-quality image. Better image quality usually gives better results. Avoid overly blurry or low-resolution photos if you want a clean final output.
Step 2: Select the Area to Edit
Use a brush, mask or selection tool to mark the area you want to remove, repair, or replace. Try to select only the necessary area. If you mark too much of the photo, the tool may change more than needed.
Step 3: Add a Simple Instruction
Some tools allow you to type what you want. For example, you can write “remove the chair,” “clean the background,” or “replace with grass.” Keep your instruction short and clear.
Step 4: Generate the Edit
After selecting the area, click the generate or edit button. The tool will analyze the image and create a new version. Review the output carefully to check if it looks natural.
Step 5: Refine If Needed
The first result may not always be perfect. You can adjust the selected area, change your instruction or regenerate the edit. Small changes can make a big difference.
Tips for Better Results
Smart tools are powerful, but the quality of the result also depends on how you use them. These tips can help you get cleaner and more realistic edits.
Use Accurate Selection
Do not randomly brush over a large area. Select the object or damaged part carefully. Leave enough surrounding space so the tool can understand the background.
Keep Prompts Simple
If the tool accepts text instructions, avoid long and confusing prompts. Clear instructions work better. For example, “remove the person in the background” is better than a long paragraph with too many details.
Check Lighting and Shadows
After editing, look at shadows, reflections and lighting. If the edited area looks too smooth, too bright, or too dark, regenerate or refine it.
Do Not Overedit
A natural photo often looks better than an overly polished one. Use editing to improve the image, not to make it unrealistic unless you are creating fantasy or artistic content.
Common Mistakes to Avoid
Many users make simple mistakes that reduce the quality of the final image. Avoid these issues for better results.
Selecting Too Much Area
If you select a large unnecessary area, the tool may change important parts of your photo. Always focus on the exact object or section you want to edit.
Using Low-Quality Images
A blurry or pixelated image gives the tool less information to work with. Start with a clear photo whenever possible.
Ignoring Final Review
Always zoom in and check the edited area. Look for strange textures, repeated patterns, broken lines or unnatural edges.
Who Can Benefit from This Technology?
This editing method is useful for many types of users.
Photographers can clean up backgrounds and repair small issues. Online sellers can improve product photos. Bloggers can create better featured images. Social media creators can remove distractions from posts. Designers can speed up their workflow. Even casual users can improve personal photos without learning complex software.
For websites like magical studio ai, smart photo editing features can make image improvement faster and more accessible for everyday users.
Final Thoughts
Smarter photo editing is no longer limited to experts. With AI Inpainting, anyone can remove distractions, repair damaged areas and improve images with less effort. It helps save time, keeps photos realistic, and makes creative editing easier for beginners and professionals.
The key is to use it carefully. Start with a good image, select the area properly, use clear instructions and review the final result. When used correctly, this technology can turn ordinary photos into clean, polished and professional-looking visuals.
Try unlimited AI photo editing
Run every AI tool as much as you want, right in your browser.