Photo Editing Basics: A Beginner’s Guide to Better Photos

In this guide
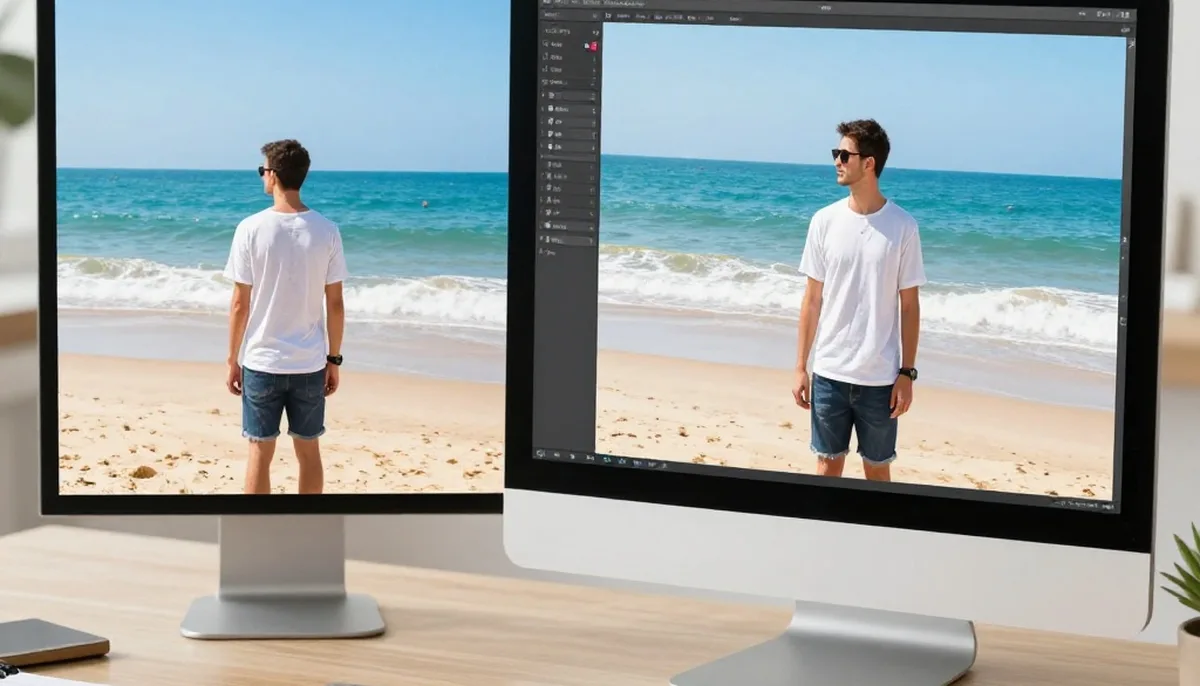
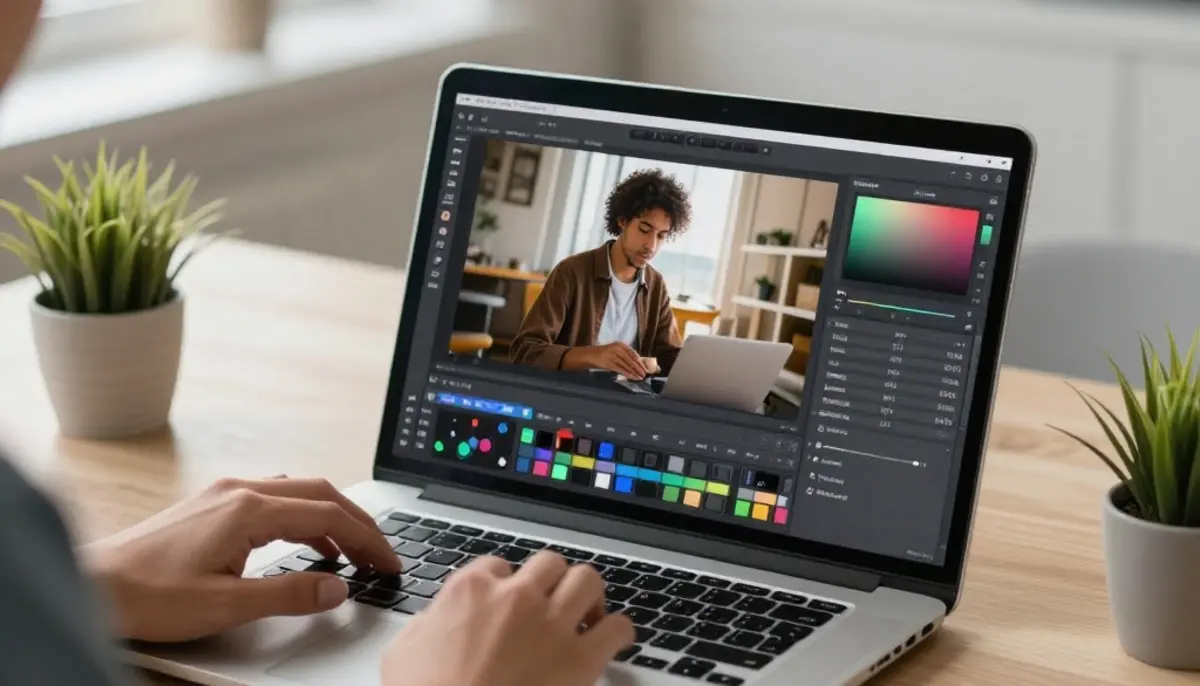
Photo editing is one of the easiest ways to turn an ordinary image into something clean, bright, and professional. Whether you are editing photos for Instagram, a website, a product page, a blog or your personal memories, learning the right photo editing basics can make a big difference.
The best part is that you do not need to be a professional designer to improve your photos. With a few simple steps like cropping, adjusting brightness, fixing colors, sharpening details and exporting in the right format, you can make almost any photo look better.
In this beginner-friendly guide, you will learn the most important photo editing basics, common editing tools, simple mistakes to avoid and a step-by-step workflow you can follow every time you edit an image.
What Are Photo Editing Basics?
Photo editing basics are the simple techniques used to improve the appearance, quality, and clarity of a photo. These techniques help you fix lighting problems, remove distractions, improve colors, crop the image and make the final result look more polished.
Basic photo editing usually includes:
- Cropping and straightening
- Adjusting brightness and exposure
- Improving contrast
- Fixing white balance
- Enhancing colors
- Sharpening details
- Removing small distractions
- Resizing and exporting the image
Photo editing is not about making every image look fake or heavily filtered. Good editing should make the photo look naturally better.
Why Photo Editing Matters
A good photo can quickly grab attention. A dull or dark image can make people scroll away, but a clean and well-edited image can make them stop, look and engage.
Photo editing matters because it helps you:
- Make photos look more professional
- Improve low-light or dull images
- Highlight the main subject
- Remove unwanted distractions
- Create a consistent visual style
- Improve website and social media presentation
- Make product photos more trustworthy
For example, if you run an online store, clear product images can increase user confidence. If you create social media content, bright and attractive visuals can improve engagement. If you own a website, optimized images can improve user experience and page speed.
Essential Photo Editing Tools Beginners Should Know
Before you start editing, it is important to understand the basic tools used in most photo editing apps and software.
Crop Tool
The crop tool helps you remove unwanted areas from a photo. It also improves the composition of the image by keeping the focus on the main subject.
Use cropping when:
- There is too much empty space
- The subject is not properly centered
- There are unwanted objects near the edges
- You need a specific size for social media or website use
For example, an Instagram post may need a square crop, while a website banner may need a wide horizontal crop.
Straighten Tool
Sometimes a photo looks slightly tilted. This is common in travel, landscape, street and product photography. The straighten tool helps correct the angle and makes the image look balanced.
Straightening is especially useful for:
- Horizons
- Buildings
- Product photos
- Room interiors
- Flat-lay images
A straight photo instantly looks cleaner and more professional.
Exposure and Brightness
Exposure controls how light or dark your photo looks. If your image is too dark, increasing exposure can bring back visibility. If your image is too bright, reducing exposure can recover details.
Brightness also affects the light level of an image, but exposure is usually better for overall correction.
Use this carefully because too much brightness can make the photo look washed out.
Contrast
Contrast controls the difference between light and dark areas. A photo with low contrast may look flat, while a photo with too much contrast may look harsh.
Good contrast adds depth and makes the subject stand out.
Use contrast to:
- Make photos look more dynamic
- Add depth to flat images
- Improve details
- Create a stronger visual impact
Highlights and Shadows
Highlights control the bright parts of an image, while shadows control the darker areas.
If the sky is too bright, reduce highlights. If the face or object is too dark, increase shadows.
This tool is useful when you want to balance light without changing the entire photo too much.
White Balance
White balance helps fix unnatural colors in a photo. Sometimes a photo may look too yellow, too blue, too green or too red because of lighting conditions.
White balance helps make colors look natural. For example:
- Indoor lights can make photos look yellow
- Cloudy weather can make photos look blue
- Artificial lighting can change skin tones
Correct white balance makes the photo look realistic and clean.
Saturation and Vibrance
Saturation increases or decreases the intensity of all colors in an image. Vibrance improves weaker colors more naturally without making skin tones look too strong.
For beginners, vibrance is often safer than saturation because it gives a more natural result.
Use color adjustments carefully. Too much saturation can make photos look artificial.
Sharpness and Clarity
Sharpness improves the detail in a photo. It can make textures, edges and small details look clearer.
Clarity adds midtone contrast and gives the image more definition.
These tools are useful, but they should not be overused. Too much sharpening can create rough edges and noise.
Resize and Export
After editing, you need to save your image in the right size and format. This is important for websites, social media, printing and sharing.
Common image formats include:
- JPG: Best for photos and social media
- PNG: Best for transparent images and graphics
- WebP: Best for websites because it gives good quality with smaller file size
For website images, always try to keep the file size small without losing too much quality.
Step-by-Step Photo Editing Workflow for Beginners
Now let us look at a simple photo editing workflow you can follow for almost any image.
Step 1: Start With a Good Quality Photo
Editing can improve a photo, but it cannot always fix a very blurry or badly captured image. Start with the best photo possible.
Before editing, check:
- Is the subject clear?
- Is the image focused?
- Is the lighting usable?
- Is the photo too blurry?
- Is the main object visible?
A good original photo makes editing much easier.
Step 2: Crop and Straighten the Image
Start by fixing the frame. Remove unnecessary space, distracting objects or awkward edges. Then straighten the image if it looks tilted.
This step improves the overall composition before you begin adjusting light and color.
A simple crop can completely change the feel of a photo.
Step 3: Adjust Exposure and Brightness
Next, fix the overall lighting. If the image is too dark, increase exposure slightly. If it is too bright, reduce exposure.
Try to keep the photo natural. Your goal is to make the subject clearly visible without losing details.
Step 4: Improve Contrast
After fixing brightness, adjust contrast. A small increase in contrast can make the image look more powerful and clear.
Do not push contrast too high because it can make shadows too dark and highlights too bright.
Step 5: Fix Highlights and Shadows
If bright areas look too strong, reduce highlights. If dark areas hide important details, increase shadows.
This step is very useful for outdoor photos, portraits and images taken in mixed lighting.
Step 6: Correct White Balance
Now check the color temperature. Does the image look too warm or too cool?
If the photo looks yellow, reduce warmth. If it looks blue, increase warmth slightly. The goal is to make colors look natural and pleasing.
For portraits, always check skin tones carefully.
Step 7: Adjust Colors
After correcting white balance, improve colors using vibrance and saturation.
For a natural look:
- Increase vibrance slightly
- Use saturation carefully
- Avoid making colors too strong
- Keep skin tones realistic
This step can make your photo more attractive without making it look overedited.
Step 8: Remove Unwanted Objects or Distractions
Small distractions can reduce the quality of a photo. These may include dust spots, background objects, wires, marks or unwanted items near the subject.
Many AI photo editing tools can remove objects quickly, and a background remover can clear the backdrop in one step. This is useful for product photos, portraits, travel photos and social media images.
Step 9: Sharpen the Image
Sharpening should usually be one of the final steps. Add a small amount of sharpness to improve details.
Avoid over-sharpening, especially for portraits, because it can make skin texture look rough.
Step 10: Export in the Right Format
Once your photo looks good, export it properly.
Use JPG for normal photos, PNG for transparent graphics and WebP for website images. For social media, keep the image clear and high quality. For websites, compress the image so the page loads faster.
Photo Editing Basics in 7 Simple Steps
Here is a quick beginner checklist:
- Crop and straighten the photo
- Adjust exposure and brightness
- Improve contrast
- Fix highlights and shadows
- Correct white balance
- Enhance colors naturally
- Sharpen and export the image
This simple workflow can help you edit photos faster and more confidently.
Basic Photo Editing Tips for Better Results
Avoid Overediting
One of the biggest beginner mistakes is overediting. Too much brightness, contrast, saturation, or sharpening can make photos look fake.
A good edit should improve the photo, not destroy its natural look.
Edit for the Purpose
Different photos need different editing styles. For example:
- Product photos should look clean and accurate
- Portrait photos should keep skin tones natural
- Instagram photos can be slightly more colorful
- Website images should be optimized for fast loading
- Food photos should look fresh and appetizing
Always edit based on where the photo will be used.
Compare Before and After
Most editing tools allow you to compare the original photo with the edited version. Use this feature often.
Ask yourself:
- Does the edited photo look better?
- Is it still natural?
- Are the colors realistic?
- Is the subject clearer?
- Did I overdo anything?
This simple habit can improve your editing skills quickly.
Keep Skin Tones Natural
When editing portraits or selfies, skin tone is very important. Avoid too much smoothing, saturation, or contrast.
Natural skin tones make portraits look more professional and trustworthy.

Use Presets Carefully
Presets and filters can save time, but they do not work perfectly on every photo. A preset may look good on one image and bad on another.
Use presets as a starting point, then adjust brightness, color and contrast manually.
Common Photo Editing Mistakes Beginners Make
Making Photos Too Bright
A bright photo can look attractive, but too much brightness can remove important details. Always check highlights and white areas.
Using Too Much Saturation
Strong colors may look eye-catching at first, but oversaturated images often look fake. Keep colors balanced and natural.
Over-Smoothing Skin
Skin smoothing can help portraits, but too much smoothing removes natural texture and makes the face look unrealistic.
Ignoring Composition
Many beginners focus only on filters and forget about cropping. Good composition is one of the most important parts of photo editing.
Exporting in the Wrong Size
Large image files can slow down websites. Small low-quality images can look blurry. Always export based on the platform where the image will be used.
Not Saving the Original Image
Always keep the original photo. This allows you to edit again later or try a different style without losing the original version.
Best Photo Editing Software for Beginners
There are many tools available for photo editing. Beginners do not always need complex software. Start with a tool that is simple, fast and easy to understand.
Free Photo Editing Tools
Free tools are great for learning basic editing. They usually include crop, brightness, contrast, filters, color correction and export options.
These are useful for:
- Students
- Bloggers
- Social media creators
- Small business owners
- Beginners learning editing
AI Photo Editing Tools
AI photo editing tools make editing faster and easier. They can help with background removal, object removal, image enhancement, color correction, face retouching and photo restoration.
AI tools are helpful when you want quick results without learning advanced editing software.
Professional Photo Editing Tools
Professional tools offer more control and advanced features. They are useful for photographers, designers and businesses that need detailed editing.
Beginner Photo Editing Checklist
Before you finish editing, check these points:
- Is the image straight?
- Is the subject clearly visible?
- Is the photo too dark or too bright?
- Are the colors natural?
- Is the background clean?
- Is the image sharp enough?
- Does the photo look overedited?
- Is the file size optimized?
- Is the image saved in the right format?
- Is the original photo saved safely?
This checklist will help you create better edits every time.
Conclusion
Learning photo editing basics is the first step toward creating better images. You do not need complicated tools or advanced design skills to make your photos look cleaner, brighter and more professional.
Start with simple steps: crop the image, fix lighting, improve contrast, correct colors, sharpen details and export properly. Once you understand this workflow, editing becomes faster and easier.
The goal of photo editing is not to make every image look artificial. The goal is to improve the photo while keeping it natural, clear and attractive.
So, choose one photo today, apply these basic editing steps and compare the before and after result. You will quickly see how small changes can make a big difference.
Try unlimited AI photo editing
Run every AI tool as much as you want, right in your browser.