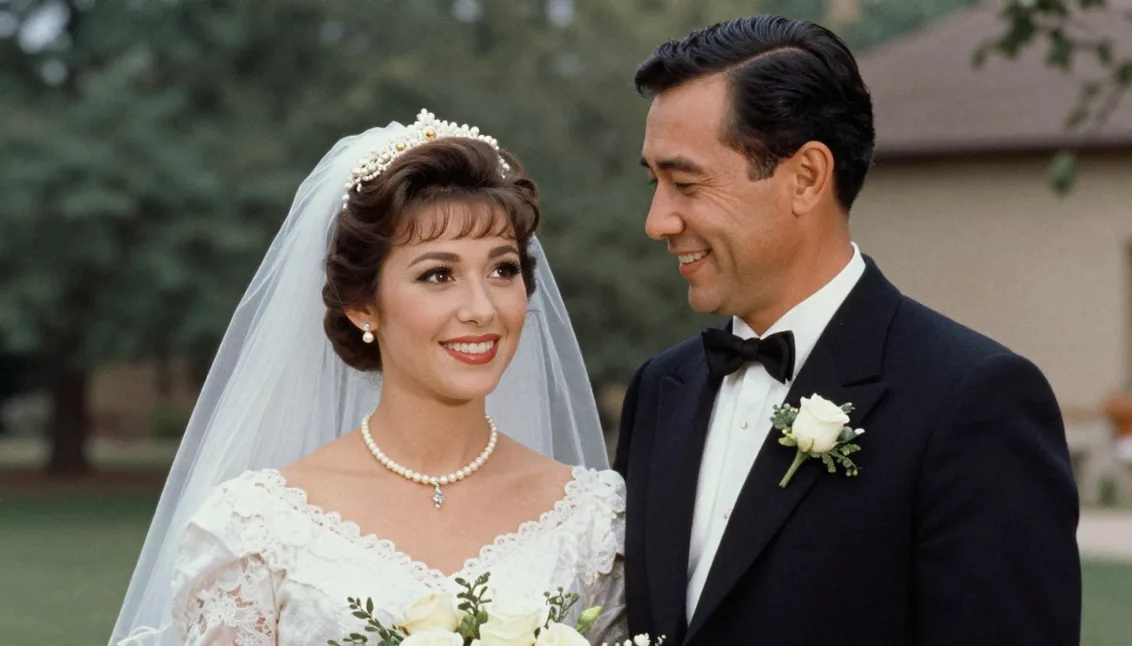
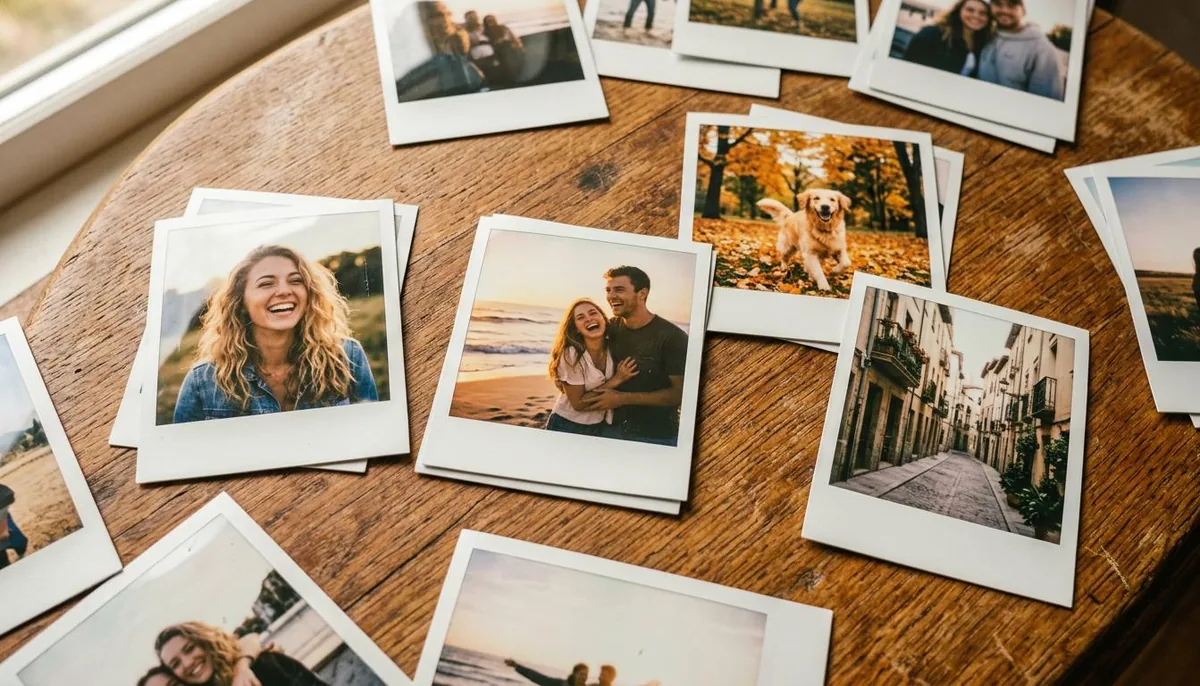
How to Restore Old Family Photos with AI Step by Step
In this guide
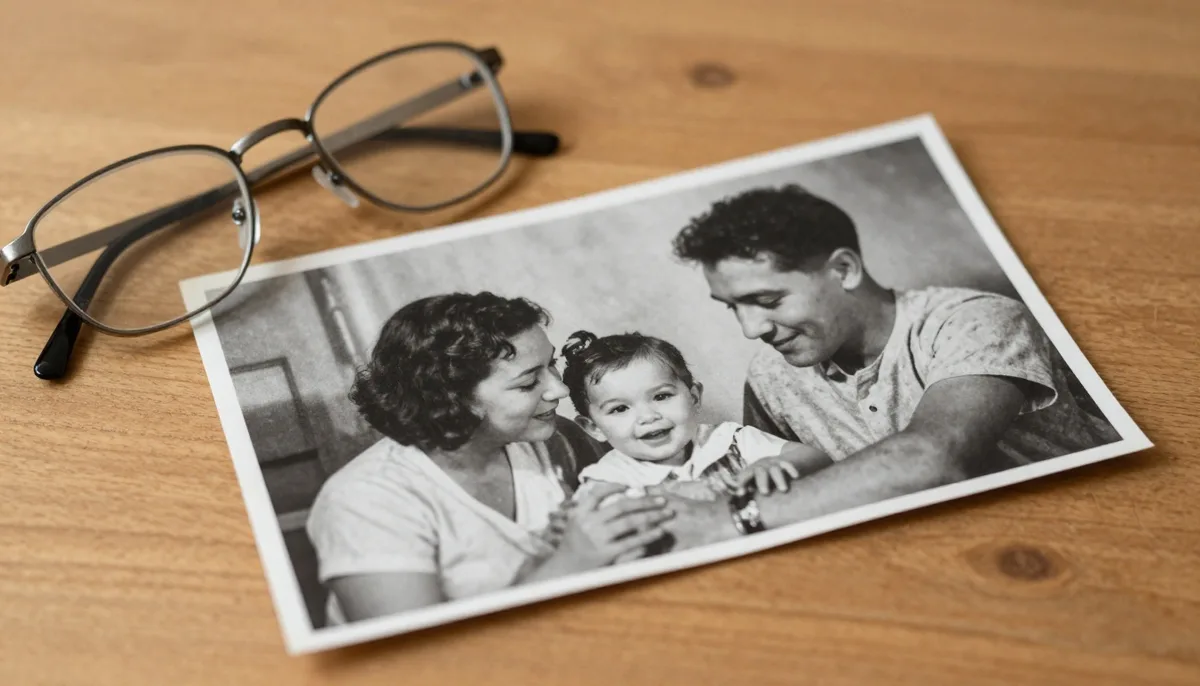
Old family photos are more than paper and ink. They carry memories, emotions, family history, and moments that cannot be repeated. Over time, these photos can fade, tear, lose color, collect dust or become damaged by moisture and age. Earlier, repairing them required professional editing skills or expensive restoration services. Today, AI makes the process easier, faster and more accessible for everyone.
In this guide, you will learn how to restore old family photos with AI using simple steps. Whether you have a faded portrait of your grandparents, a scratched wedding photo or a blurry childhood memory, AI tools can help bring those images back to life.
Why Old Family Photo Restoration Matters
Family photos connect generations. They help children see their roots, remind parents of meaningful memories, and preserve stories that may otherwise disappear. A single restored image can become part of a family album, wall frame, memorial video, birthday gift or digital archive.
Old photos often suffer from common problems such as fading, scratches, stains, cracks, missing corners, low sharpness, and dull colors. AI photo restoration tools can detect these issues and automatically improve the image without requiring advanced editing knowledge.
What AI Photo Restoration Can Do
AI restoration uses smart image processing to understand faces, textures, colors, and damaged areas. Instead of manually painting every scratch or adjusting each detail, AI analyzes the photo and improves it intelligently.
Common Improvements AI Can Make
AI can repair visible cracks, reduce grain, sharpen blurry faces, enhance facial details, remove dust spots, improve contrast, restore faded tones and even colorize black-and-white photos. Some tools can also upscale small photos, making them clearer for printing or sharing online.
This is especially useful when you have a photo that looks too old, dark or damaged to use. With the right tool and process, you can turn it into a clean, natural-looking image while keeping its original emotional value.
Step 1: Choose the Right Old Family Photo
Before using AI, select the photo you want to restore. Pick an image that has emotional value or historical importance. It may be a wedding photo, school photo, festival memory, family gathering, old portrait, or any image you want to preserve.
Check the Condition of the Photo
Look closely at the photo and note the main problems. Is it faded? Are faces blurry? Are there scratches or stains? Is the image black and white? Is it torn? Understanding the damage will help you choose the right restoration settings later.
Step 2: Digitize the Photo Properly
To restore an old physical photo, you first need a digital copy. A poor scan or low-quality camera capture can limit the final result, so this step is important.
Best Ways to Scan Old Photos
Use a scanner if possible. Scan the photo at a high resolution, ideally 300 DPI or higher. If you do not have a scanner, use a smartphone camera in good lighting. Place the photo on a flat surface, avoid shadows, and keep the phone steady.
Make sure the photo is not tilted. Clean the camera lens and gently remove dust from the photo surface with a soft cloth. Do not use water or harsh cleaning products because they can damage the original print.
Step 3: Upload the Image to an AI Restoration Tool
Once your photo is digitized, upload it to a reliable AI photo restoration tool. Many platforms allow you to upload an image and automatically repair it within seconds.
Tools like magical studio ai can help users improve old photos without needing professional design skills. The goal is to make restoration simple, even for beginners who have never used photo editing software before. You can start right away with the free AI Photo Enhancer.
Step 4: Remove Scratches, Dust, and Stains
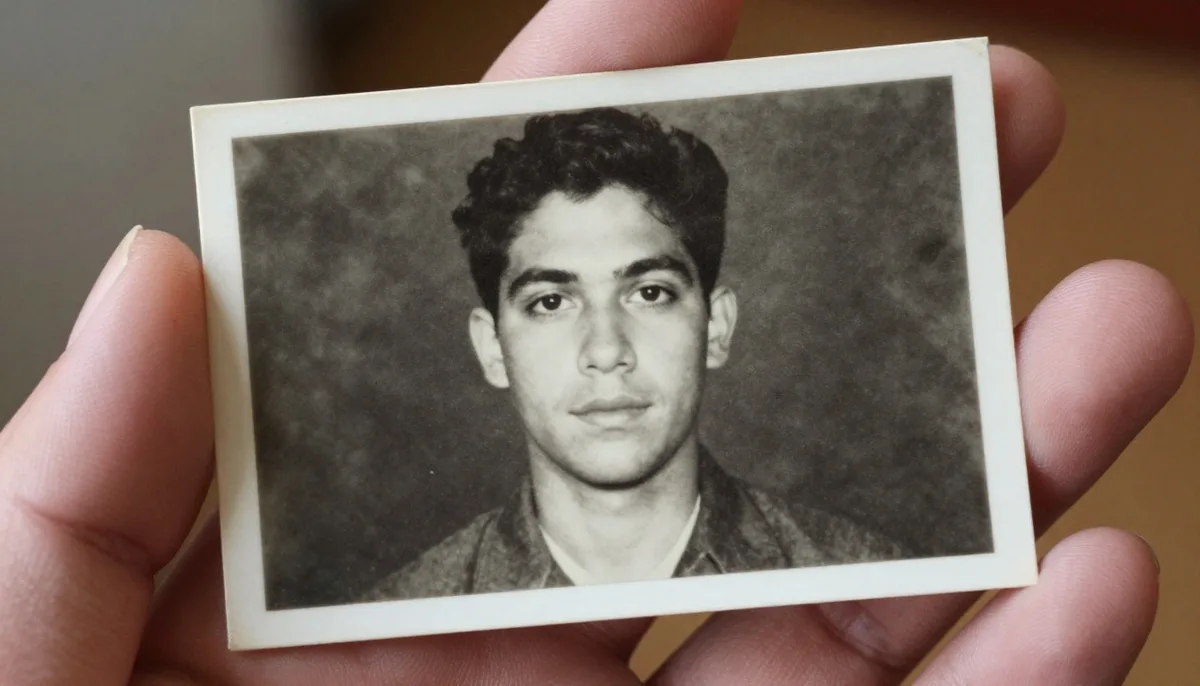
After uploading your image, start with damage repair. AI can identify lines, cracks, dust marks, and stained areas, then fill them in using surrounding image details.
Keep the Result Natural
Do not over-edit the photo. Old family pictures should still feel authentic. The purpose is not to make them look artificial, but to clean the damage while preserving the original charm. If the tool gives you intensity options, begin with a medium setting and adjust only if needed.
This step is one of the most important parts of restoring old family photos with AI because visible damage can distract from the people and emotions in the image.
Step 5: Enhance Faces and Important Details
Old photos often lose sharpness, especially around faces. AI face enhancement can improve eyes, skin texture, hair and facial outlines. This makes the people in the photo look clearer and more recognizable.
Avoid Changing Identity
When restoring family photos, the face should remain true to the original person. Avoid filters that make the face look too modern, too smooth or different from the real person. Good restoration improves clarity without changing identity.
For group photos, check each person after enhancement. Sometimes AI may improve one face better than another, so review the full image carefully.
Step 6: Improve Brightness, Contrast, and Sharpness
Many old photos look dull because of poor lighting or age-related fading. AI can balance brightness, improve contrast and sharpen details. This helps the photo look fresh while still keeping its vintage feeling.
Simple Editing Tips
Increase brightness only enough to reveal hidden details. Improve contrast carefully so faces and clothing do not become too harsh. Use sharpening moderately because too much sharpness can create unnatural edges.
A clean, balanced image looks better than one that is overly processed.
Step 7: Colorize Black-and-White Photos
If your family photo is black and white, AI colorization can add realistic colors to skin, clothes, backgrounds and objects. This can make the photo feel more alive and emotionally powerful. The Photo Colorizer does this in one click.
When to Use Colorization
Colorization is optional. Some families prefer the classic black-and-white look, while others enjoy seeing old memories in color. You can create both versions and keep them together. One version preserves the original style and the other gives a fresh modern view.
If you use magical studio ai, compare the colorized result with the original image to make sure the colors look natural and respectful.
Step 8: Upscale the Restored Photo
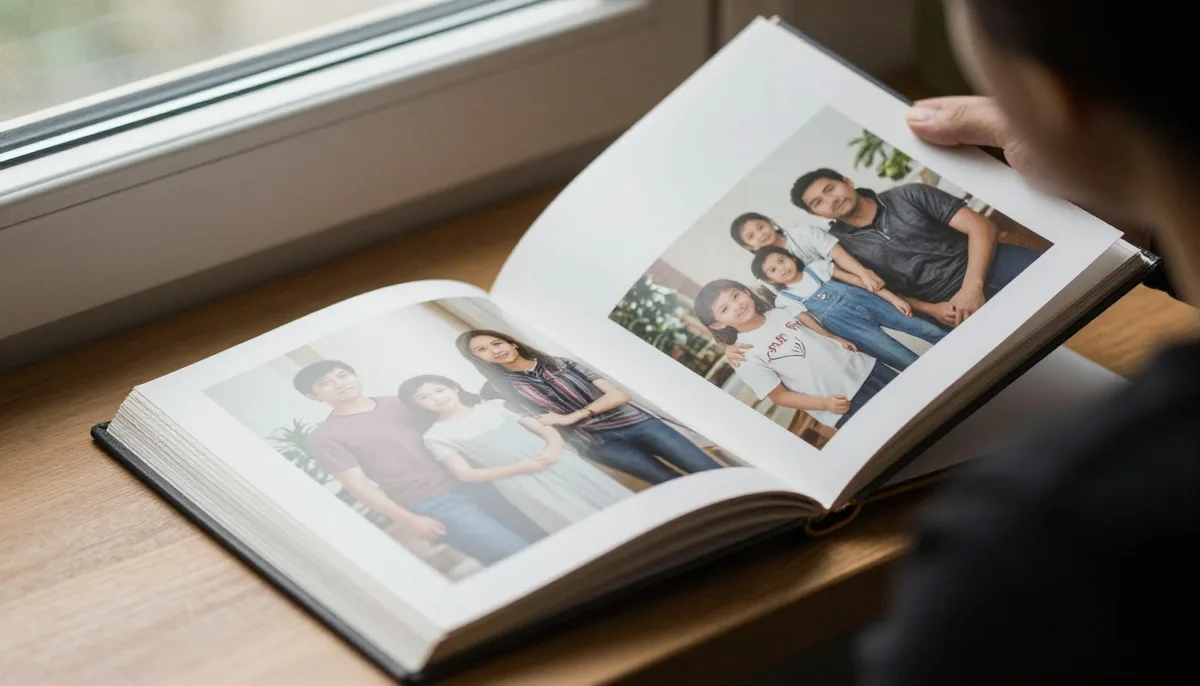
Old photos are often small, low-resolution or scanned from tiny prints. AI upscaling increases image size while improving clarity. This is useful if you want to print the restored photo, use it in a frame or create a family memory album. Try the AI Image Upscaler for a print-ready result.
Best Use of Upscaling
Upscale after basic restoration, not before. First remove scratches, enhance details and balance lighting. Then upscale the final version for better quality. This helps avoid enlarging damage or noise.
Step 9: Review Before Saving
After AI restoration, zoom in and check the image carefully. Look at faces, hands, eyes, background areas, clothing edges and repaired spots. Make sure nothing looks strange or overly edited.
Compare Before and After
Keep the original photo file and compare it with the restored version. This helps you confirm that the restored image still respects the original memory. The best restoration should feel cleaner, clearer and more emotional without looking fake.
This review stage is essential when learning how to restore old family photos with AI because AI is powerful, but human judgment keeps the memory authentic.
Step 10: Save and Protect the Final Image
Once you are happy with the restored photo, save it in high quality. Use PNG for maximum quality or JPEG for easy sharing. Create backup copies on cloud storage, an external drive or a family archive folder.
Organize Your Family Memories
Name each file clearly. You can include names, dates, locations or events. For example, “Grandparents-Wedding-1975-Restored.png” is much better than a random file name. Organized files make it easier for future generations to understand the story behind each photo.
Best Practices for Better AI Photo Restoration
AI can do amazing work, but better input creates better output. Always start with the clearest scan possible. Avoid uploading blurry camera shots when a scanner is available. Keep the original photo safe and never throw it away after digitizing.
Use light corrections first, then advanced features like face enhancement, colorization and upscaling. Save multiple versions so you can compare results and choose the most natural one.
Common Mistakes to Avoid
Do not use too many filters. Do not over-smooth faces. Do not increase colors too much. Do not crop important background details unless necessary. Do not replace original emotion with a modern artificial look.
Another common mistake is editing only one version and deleting the original. Always keep the original file untouched. It is your backup and historical reference.
Benefits of Using AI for Family Photo Restoration
AI saves time, reduces cost and makes restoration available to everyone. You do not need Photoshop skills or professional training. Most tools are beginner-friendly and can restore photos in minutes.
The biggest benefit is emotional. A restored photo can bring back forgotten memories, help families reconnect and turn damaged images into meaningful keepsakes. It can also be used for anniversaries, family trees, memorial albums, documentaries and social media memories. You can even turn a restored photo into a moving tribute with the Image to Video tool.
Conclusion
Old family photos deserve care because they hold stories, emotions and family history. With modern AI tools, anyone can repair faded, scratched, blurry or black-and-white photos without advanced editing experience. The process is simple: scan the photo, upload it, repair damage, enhance faces, adjust quality, colorize if desired, upscale, review and save safely.
By following this guide on how to restore old family photos with AI, you can protect precious memories and share them with future generations in a clearer, more beautiful way. Browse all the AI photo tools to get started for free.
Try unlimited AI photo editing
Run every AI tool as much as you want, right in your browser.